 Pin it
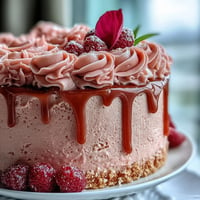
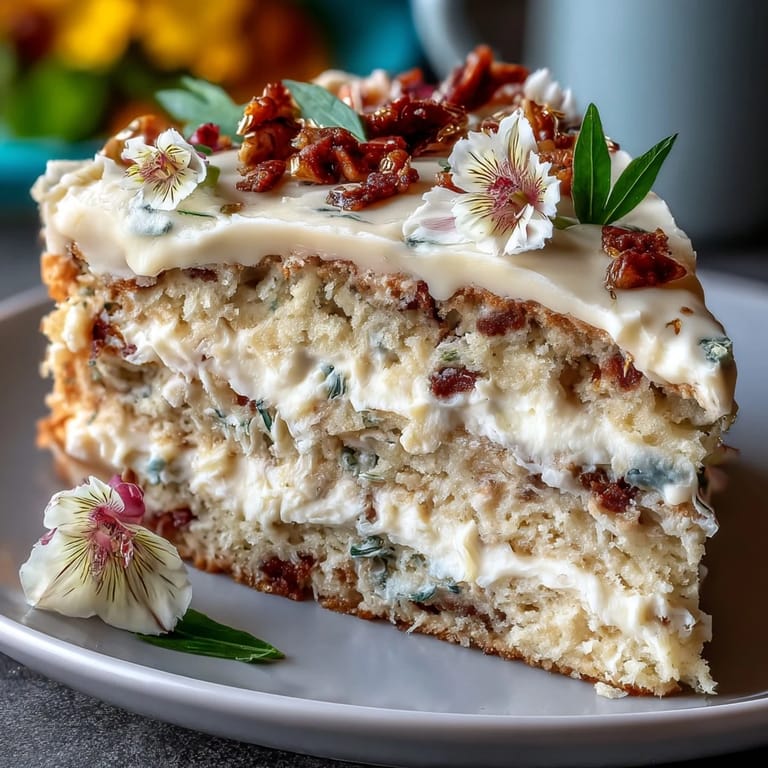
 My friend's daughter was turning twenty-two and graduating college on the same week, both under the steady Taurus sun, and I found myself staring at a blank cake design board wondering how to capture both milestones in buttercream. I'd baked countless cakes before, but this one felt different—it needed to whisper elegance while shouting celebration. The idea came to me while I was actually burning toast one morning: layers of vanilla cake so buttery and tender it practically melts, wrapped in a floral buttercream garden that felt like something between a birthday wish and an academic honor.
I remember pressing my fingers into the warm cake layers right out of the oven, feeling that perfect bounce that tells you it's done just right, and thinking about how the graduate had once helped me frost cookies in this very kitchen years ago. By the time I was piping the third flower onto the crumb coat, my shoulders had relaxed and the whole afternoon felt less like baking and more like creating something to mark a moment that wouldn't come around again.
Ingredients
- All-purpose flour (2 1/2 cups): The backbone of your cake—make sure it's not packed down in the measuring cup or you'll end up with something too dense and heavy.
- Baking powder (2 1/2 tsp): This is what gives you those three distinct, tender layers that don't collapse under the weight of frosting.
- Salt (1/2 tsp): A small amount that doesn't make the cake taste salty but makes the vanilla sing louder.
- Unsalted butter (1 cup for cake): Room temperature is non-negotiable here—cold butter won't cream properly and you'll miss that light, fluffy texture.
- Granulated sugar (2 cups): This dissolves into the butter to create the structure and sweetness that keeps the cake moist for days.
- Eggs (4 large, room temperature): They need warmth to blend smoothly into the batter and add richness that cold eggs simply won't deliver.
- Vanilla extract (1 tbsp pure): Use real vanilla, not imitation—it's the soul of this cake and worth every penny.
- Whole milk (1 cup, room temperature): The alternating method with flour means this liquid helps create the tender crumb everyone will talk about.
- Unsalted butter (1 1/2 cups for buttercream): The frosting needs different butter than the cake because it needs to hold piping shapes firm and smooth.
- Powdered sugar (5 cups, sifted): Sifting removes lumps and keeps your frosting silky—skip this step and you'll spend twenty minutes working out grittiness.
- Heavy cream or milk (2-4 tbsp): Start with two tablespoons and add more only if needed; too much makes your buttercream weep when piping.
- Gel food coloring: Gel holds its color better than liquid and won't thin out your buttercream the way water-based colors do.
- Edible gold leaf or gold sprinkles (optional): A tiny touch for the Taurus symbol or a graduation cap accent that catches the light beautifully.
Tired of Takeout? 🥡
Get 10 meals you can make faster than delivery arrives. Seriously.
One email. No spam. Unsubscribe anytime.
Instructions
- Prepare your canvas:
- Preheat your oven to 350°F and grease three 8-inch round pans with butter, then line the bottoms with parchment paper so your cakes slide out effortlessly. This step feels tedious but it's what separates a cake that unmolds like a dream from one that crumbles at the edges.
- Mix your dry ingredients:
- Whisk flour, baking powder, and salt together in a bowl—this distributes the leavening evenly so every bite rises the same way. I like to do this by hand with a whisk because I can actually feel when everything is fully combined.
- Cream butter and sugar:
- Beat softened butter and sugar together for 3-4 minutes until the mixture turns pale and fluffy, almost like pale sand that holds peaks. You'll know it's ready when you lift the paddle and the mixture clings to it for just a second before falling back.
- Add eggs slowly:
- Drop in one egg at a time, beating well after each addition so the mixture stays emulsified and smooth. Rushing this step is how you end up with a curdled batter that bakes unevenly.
- Fold in the vanilla:
- Mix in vanilla extract until just combined—it takes maybe thirty seconds and transforms everything into something that smells like celebration.
- Alternate wet and dry:
- Add one-third of your flour mixture, beat briefly, then add one-third of your milk, beat again, and repeat until everything is incorporated, ending with flour. This method keeps your cake tender because you're not overworking the gluten.
- Divide and bake:
- Pour batter evenly into your three pans (I use a kitchen scale to make sure they're identical) and smooth the tops gently. Bake for 28-35 minutes until a toothpick comes out clean—the exact time depends on your oven's personality, so start checking at 28 minutes.
- Cool with patience:
- Let cakes rest in their pans for 10 minutes so they firm up enough to turn out, then flip them onto wire racks to cool completely. Trying to frost a warm cake is like trying to paint on wet canvas.
- Make your buttercream:
- Beat softened butter until creamy, then gradually add sifted powdered sugar, beating on medium speed between additions. Add vanilla and cream, then beat for another 3-4 minutes until the frosting transforms into something light and fluffy enough to hold peaks.
- Tint your colors:
- Divide buttercream into separate bowls and add gel coloring one drop at a time, stirring until the shade matches what you imagined. Gel coloring is forgiving—you can always add more, but you can't take it back.
- Build your layers:
- Level any domed cake tops with a serrated knife or cake leveler, place the first layer on your serving plate, spread frosting, then repeat with the remaining layers. Take your time here because a wobbly cake is frustrating to decorate.
- Crumb coat and chill:
- Apply a very thin layer of frosting over the entire cake to seal in crumbs, then refrigerate for 20 minutes so this layer sets firm. This step is magic—it means your final coat goes on smooth without picking up brown bits.
- Final frosting layer:
- Apply your second coat of frosting, making it as smooth or rustic as you prefer, using an offset spatula and a cake turntable if you have one. A turntable makes this part effortless, but a steadily rotated plate works too.
- Pipe your floral designs:
- Fill your piping bags with colored buttercream and use petal tips for flowers, leaf tips for foliage, and round tips for details, piping designs around the cake in clusters. Start at the top and work downward so you have a visual guide as you go.
- Add celebratory touches:
- Place edible gold leaf or sprinkles to highlight a Taurus symbol or graduation cap accent that ties the whole celebration together. These finishing details take two minutes but they're what makes someone stop and really look at your cake.
- Chill until service:
- Refrigerate the finished cake until you're ready to serve, then bring it to room temperature for about thirty minutes so the flavors brighten and the frosting softens to the perfect consistency for slicing.
 Pin it
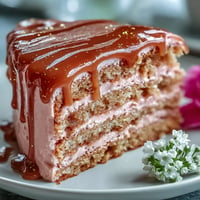
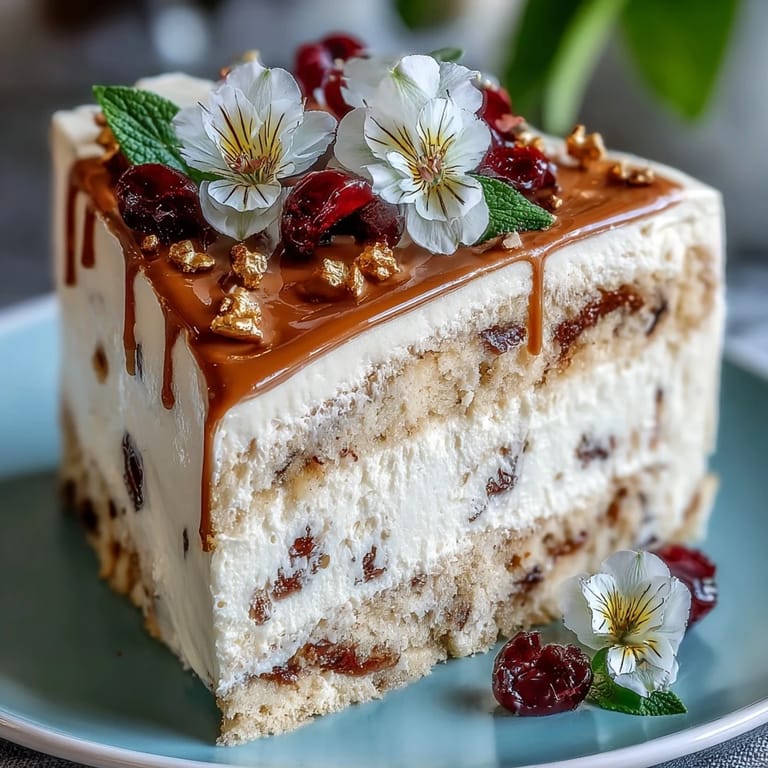
 There's a specific moment when you finish piping the last flower and step back to look at the whole cake that makes everything click—suddenly it's not just cake and frosting anymore, it's a three-dimensional portrait of someone's achievement. The graduate's mother cried when she saw it, which made me tear up too, and we both stood there in that kitchen just looking at what we'd created together, understanding that some food is really just edible proof that we're thinking of someone.
Flavor Variations That Tell Their Own Stories
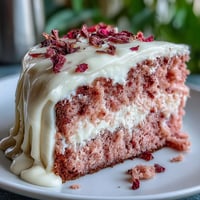
This vanilla cake is elegant precisely because it's a blank canvas, but I've learned that adding a teaspoon of almond extract to the batter creates a subtle haunting quality that people can't quite name but absolutely remember. Lemon zest stirred into the buttercream instead of vanilla turns the whole thing bright and spring-like, perfect if the graduate loves citrus or if you're celebrating in a season when flowers are blooming wildly.
Decorating Without Fear
The truth about piping flowers is that perfection isn't the goal—intention is. My first rose looked like a cabbage, my peonies like crumpled tissue paper, but somewhere around flower number fifteen, I stopped thinking about what they should look like and just let my hand move. If you're nervous, practice piping flowers on a piece of parchment first, then chill and transfer them onto the cake—it's how professional decorators handle pressure.
Making It Yours
The most meaningful detail I added was matching the flower colors to the graduate's school colors, which felt like braiding her identity into the frosting itself. You can personalize this cake endlessly: match flowers to birth flowers, use piping tips to create geometric patterns instead of florals, or add initials in gold piping on top. This is the kind of cake that celebrates not just milestones but the specific person standing in front of it.
- Practice your piping designs on a paper towel or parchment first so your hands know what they're doing when you're actually decorating.
- Keep colored buttercream at a consistent temperature—if it gets too warm it won't hold shapes, and if it's too cold it won't pipe smoothly.
- This cake tastes exponentially better after sitting overnight, so bake it a day ahead if you can and frost it the morning of the celebration.
 Pin it
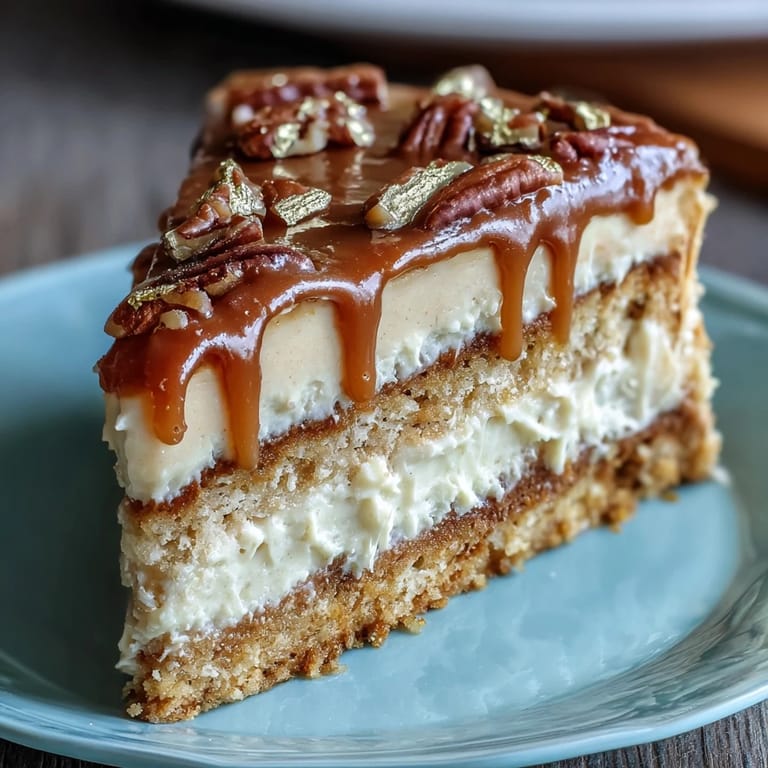
 This cake is proof that when you bake with intention and decorate with your whole heart, people taste not just vanilla and butter but love itself. Make it, share it, and let someone know that their moment matters enough to create something this beautiful.
Recipe FAQs
- → What makes the buttercream floral?
Gel food coloring is used to tint the buttercream in various floral shades like green, pink, purple, and yellow, creating detailed flower and leaf designs with piping tips.
- → How do you achieve a moist cake texture?
The cake batter combines softened butter, granulated sugar, fresh eggs, and whole milk, producing a tender crumb by alternating dry and wet ingredients carefully mixed but not overworked.
- → Can I personalize the decorations?
Yes, floral buttercream colors can be matched to birth month flowers or school colors, and optional gold leaf accents highlight Taurus symbols or graduation themes.
- → What tools are essential for decorating the cake?
An electric mixer, piping bags with assorted floral tips, an offset spatula, and round cake pans are key for preparing and decorating this layered cake.
- → How long should the cake be chilled during preparation?
The crumb coat requires chilling for 20 minutes before applying the final buttercream layer to ensure smoothness and ease of decoration.