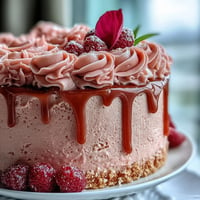
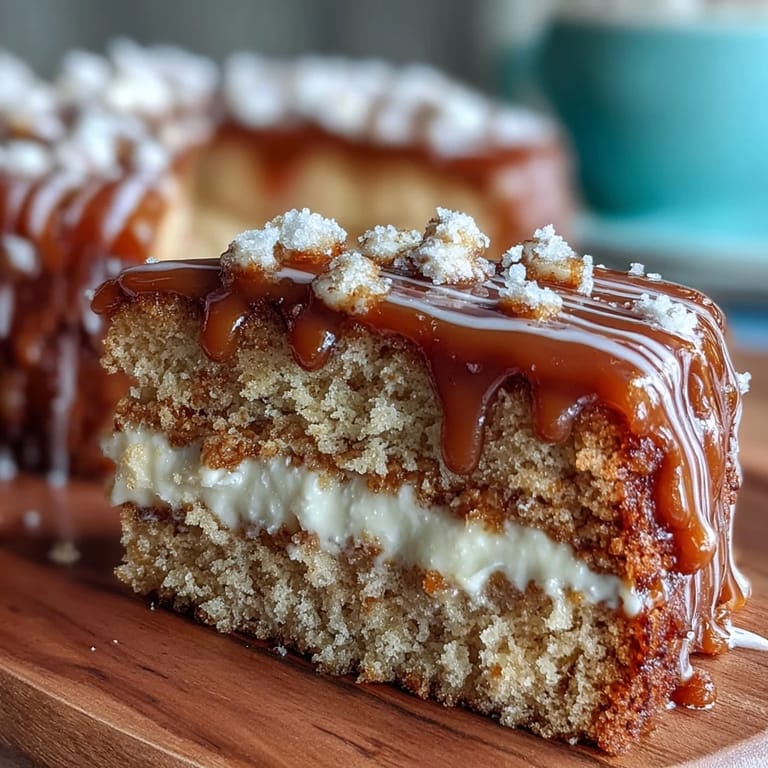
 Pin it
 My friend texted me three weeks before graduation asking if I could bake a cake for her backyard celebration, and honestly, I panicked for exactly two seconds before realizing this was the moment to make something foolproof but unforgettable. Sheet cakes have this magical quality—they're humble enough not to intimidate, yet impressive enough to make everyone feel special when you walk them out to the table. I'd watched my mom throw together countless versions of this cake over the years, always in a rush, always pulling it off perfectly. The secret, she'd told me once while frosting was still soft, is that the simplicity is the strength. Now, every time someone asks for a graduation cake, this is the one I make.
I remember standing in my friend's kitchen at 6 a.m. on graduation day, the smell of vanilla and butter filling the house while everyone else was still asleep, feeling oddly peaceful about the whole day. By the time the cake had cooled and I was piping the Class of 2026 in purple and gold, her little brother wandered in and just watched, totally mesmerized by the buttercream flowing across the top. When we set it on the dessert table later that afternoon, surrounded by flowers and string lights, I watched three generations of her family come back for seconds, and that's when I knew this cake had done its job—it tasted like celebration.
Ingredients
- All-purpose flour (2 ½ cups): Use the spoon-and-level method or weigh it for accuracy; scooping directly from the bag compacts the flour and can make your cake dense.
- Baking powder (2 ½ tsp): This is your leavening agent and it's not optional—it's what gives the cake that tender, airy crumb that makes people ask for the recipe.
- Salt (½ tsp): A tiny amount that most people can't taste but changes everything about flavor depth; never skip it.
- Unsalted butter (1 cup plus 1 cup for frosting): Softened butter creams beautifully and incorporates air—cold butter will frustrate you, so pull it out 30 minutes ahead.
- Granulated sugar (1 ¾ cups): This sweetens the cake and also helps create structure through the creaming process.
- Large eggs (4): Room temperature eggs blend seamlessly into the batter; cold ones can cause the mixture to look curdled and won't incorporate air properly.
- Vanilla extract (1 tbsp plus 2 tsp): The backbone of flavor here—use real vanilla if you can, it makes a noticeable difference in the depth of the cake's taste.
- Whole milk (1 cup plus ¼ cup): Room temperature milk combines smoothly and doesn't shock the batter; it also keeps the cake moist longer.
- Powdered sugar (4 cups, sifted): Sift it before measuring to avoid lumps that will ruin your frosting's silky texture.
- Food coloring: Gel colors are more potent than liquid, so you need less and won't thin out the frosting as much.
Tired of Takeout? 🥡
Get 10 meals you can make faster than delivery arrives. Seriously.
One email. No spam. Unsubscribe anytime.
Instructions
- Set your stage:
- Preheat the oven to 350°F and grease your 9x13-inch pan generously, then line it with parchment paper—the paper makes getting the cake out so much easier. Let the oven come fully to temperature while you gather everything else.
- Combine your dry goods:
- Whisk the flour, baking powder, and salt together in a medium bowl, making sure the baking powder is evenly distributed. This step prevents lumps and ensures even rise throughout the cake.
- Cream the butter and sugar:
- Beat them together for about 3 minutes until the mixture is pale, fluffy, and looks almost mousse-like—this is where you're building air pockets that make the cake tender. If it still looks grainy and dense after 3 minutes, keep going for another minute.
- Add eggs one at a time:
- After each egg goes in, beat well so it's fully incorporated before adding the next one; rushing this step can cause the batter to look broken or curdled. Trust that it will come back together once you add the dry ingredients.
- Introduce vanilla:
- Mix in the vanilla extract until you can't see any streaks of it anymore. The smell at this point should make you smile.
- Alternate flour and milk:
- Add about one-third of the flour mixture, mix on low speed until just combined, then add half the milk, mix, then another third of flour, the rest of the milk, and finally the last of the flour. Begin and end with flour to keep the batter emulsified.
- Pour and bake:
- Spread the batter evenly into the prepared pan and smooth the top gently with a rubber spatula. Bake for 30 to 35 minutes until a toothpick inserted in the center comes out clean with just a few moist crumbs clinging to it.
- Cool completely:
- Let the cake cool in the pan on a wire rack for at least 2 hours, preferably longer—warm cake crumbles when you frost it, which looks messy and isn't worth the rush. A cool cake holds frosting smoothly and keeps the buttercream from melting into pools.
- Make the frosting:
- Beat softened butter until creamy and pale, then gradually add the sifted powdered sugar, milk, vanilla, and salt, beating for 3 to 5 minutes until the frosting is light, fluffy, and spreadable. The milk helps it stay soft enough to pipe cleanly.
- Frost and decorate:
- Spread an even layer of buttercream across the top of the cooled cake using an offset spatula or the back of a spoon, then divide any remaining frosting into bowls and tint with food coloring. Load your piping bag with a small round tip and pipe Class of 2026 however you like—even wobbly letters look charming and celebratory.
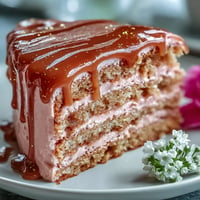
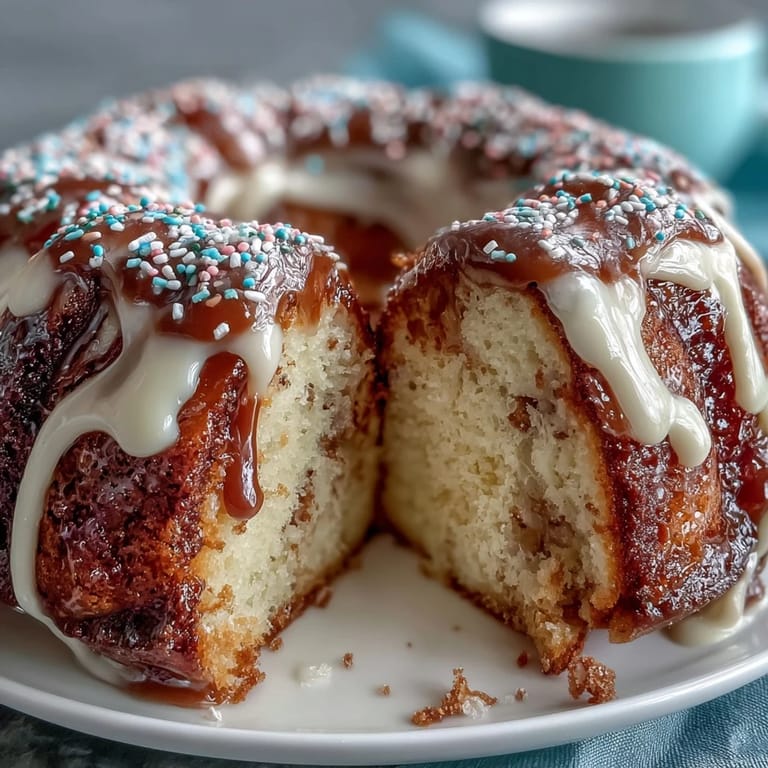
 Pin it
 Watching the cake come together that morning, I realized that graduation cakes aren't just about making something delicious—they're about showing up for someone during a moment they'll remember forever. Twelve hours later, after everyone had left and my friend was cleaning up, she texted me a photo of the last slice, untouched on her plate, saying she was saving it for tomorrow because she wanted to remember this day with one more bite of cake.
Flavor Variations That Still Work
The vanilla in this cake is classic for a reason, but once you've made it a few times and felt confident, you can play around with the formula without breaking it. Adding ½ teaspoon of almond extract to the cake batter gives it a subtle sophistication that people notice but can't always name—they just know it tastes a little more interesting than plain vanilla. Lemon zest mixed into the frosting transforms the whole vibe into something brighter and more refreshing, especially on warm days. I've also brushed the cooled cake layers with simple syrup to keep them extra moist, which doesn't change the flavor but definitely changes how people react when they bite into it.
Personalizing the Decorations
School colors matter more than you'd think when you're celebrating a specific milestone, so don't skip the step of tinting your frosting with your graduate's colors—it turns an already-good cake into something that feels made specifically for them. Gel food coloring works better than liquid because you get bolder, more vibrant hues without watering down the frosting's texture. Beyond piping the year, you can add their initials, a small star or sparkle pattern, or even little sprinkles mixed into the frosting itself for a festive texture.
Storage and Keeping It Fresh
This cake is honestly better on day two than day one because the flavors meld and the crumb becomes even more tender as it sits, so there's no shame in baking it a day early if you need to. Keep it covered at room temperature for up to two days if your kitchen isn't too warm, or refrigerate it for up to five days and it will taste just as good—cold cake slices beautifully and the frosting holds firm, which is actually ideal for serving.
- If you need to transport the cake, keep it in the pan until the last moment and assemble it at the party location if possible, or wrap the whole thing gently in plastic wrap and drive carefully.
- Leftover frosting freezes beautifully in an airtight container for up to a month, so you can make it the day before and not worry about freshness.
- If you're making this for someone with dietary restrictions, swapping dairy-free milk for regular milk and vegan butter for regular butter actually works with this recipe because the proportions are forgiving.
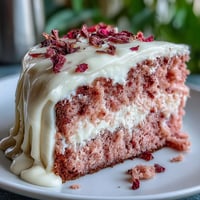
 Pin it
 This cake has become my go-to for every graduation, wedding shower, and celebration that deserves something that feels both special and achievable. Make it once and you'll understand why it's been a kitchen staple for generations—it just works, tastes incredible, and always makes people happy.
Recipe FAQs
- → What is the best way to achieve a moist crumb?
Using room temperature butter, eggs, and milk helps create a smooth batter which results in a tender, moist crumb once baked.
- → How can I ensure even baking in a sheet pan?
Grease and line the pan with parchment paper, then bake at 350°F until a toothpick comes out clean to guarantee even cooking.
- → Can I customize the buttercream colors?
Yes, adding food coloring to the buttercream allows you to match any theme or school colors for piping and decorations.
- → What tools are essential for decorating the cake?
A piping bag fitted with a small round tip is ideal for lettering, while spatulas help spread the frosting evenly.
- → How should the cake be stored for freshness?
Store covered at room temperature for up to 2 days or refrigerate for up to 5 days to maintain moisture and flavor.