 Pin it
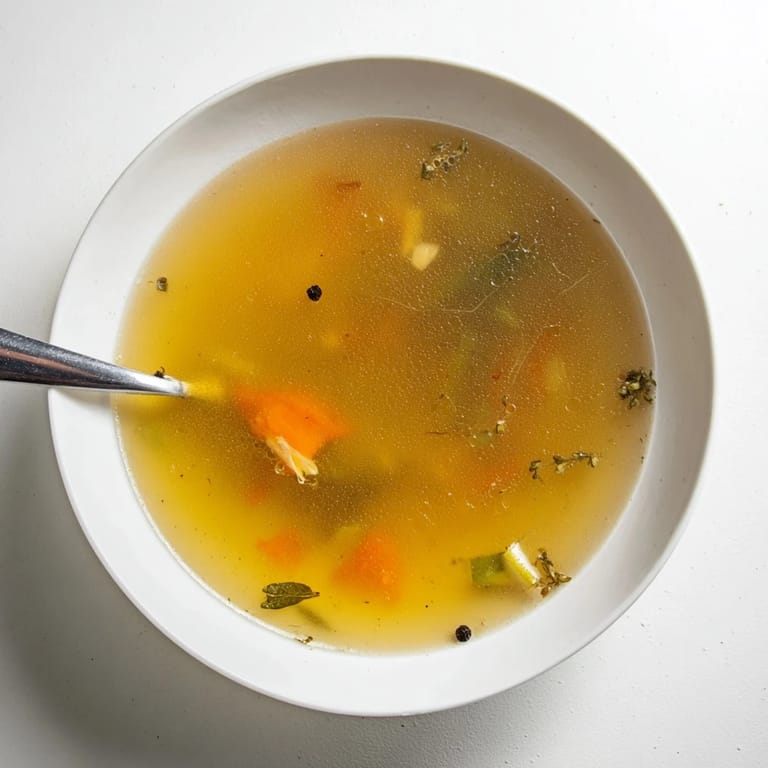
 My grandmother kept a Mason jar in her freezer that seemed to multiply on its own—carrot peels, onion skins, celery ends, all waiting for their second act. I thought it was frugality until I tasted the broth she made from that collection, golden and complex in a way store-bought versions never quite achieve. Now I understand she wasn't saving scraps. She was saving flavor.
Last winter, between snowstorms and sick days, I made batch after batch of this broth. My roommate wandered into the kitchen asking what smelled so incredible, then proceeded to drink three cups straight from the pot. That's when I realized this wasn't just about reducing waste. It was about creating something people actually crave.
Ingredients
- 5-6 cups vegetable scraps: Carrot peels, onion skins, celery ends, leek tops, mushroom stems, garlic skins, and parsley stems all contribute distinct layers of flavor
- 2 bay leaves: These add a subtle earthy backbone that ties everything together
- 8-10 whole black peppercorns: Gently peppery without being sharp or overwhelming
- 2 cloves garlic, smashed: Even with skins on, garlic mellows into sweetness during long simmering
- Small handful fresh parsley or thyme: Fresh herbs brighten the earthy vegetable flavors
- 1-2 teaspoons salt: Essential to bring out all the subtle flavors
- 2 liters cold water: Cold water extracts flavor more slowly and completely than hot
Tired of Takeout? 🥡
Get 10 meals you can make faster than delivery arrives. Seriously.
One email. No spam. Unsubscribe anytime.
Instructions
- Gather your scraps:
- Collect clean trimmings from vegetables, avoiding bitter brassicas like broccoli, cabbage, and Brussels sprouts which can dominate the flavor
- Combine everything in the pot:
- Place scraps, bay leaves, peppercorns, garlic, herbs, and salt in a large stockpot, then pour in the cold water
- Bring to a gentle boil:
- Heat over medium-high until bubbling, then immediately reduce to a gentle simmer
- Simmer slowly:
- Cook uncovered for about 1 hour, skimming any foam that rises to the surface for a clearer broth
- Taste and adjust:
- Add more salt if needed, remembering that broth should be slightly over-seasoned since it will be used as a base
- Strain carefully:
- Pour through a fine-mesh sieve or cheesecloth into a clean container, discarding all the solids
 Pin it
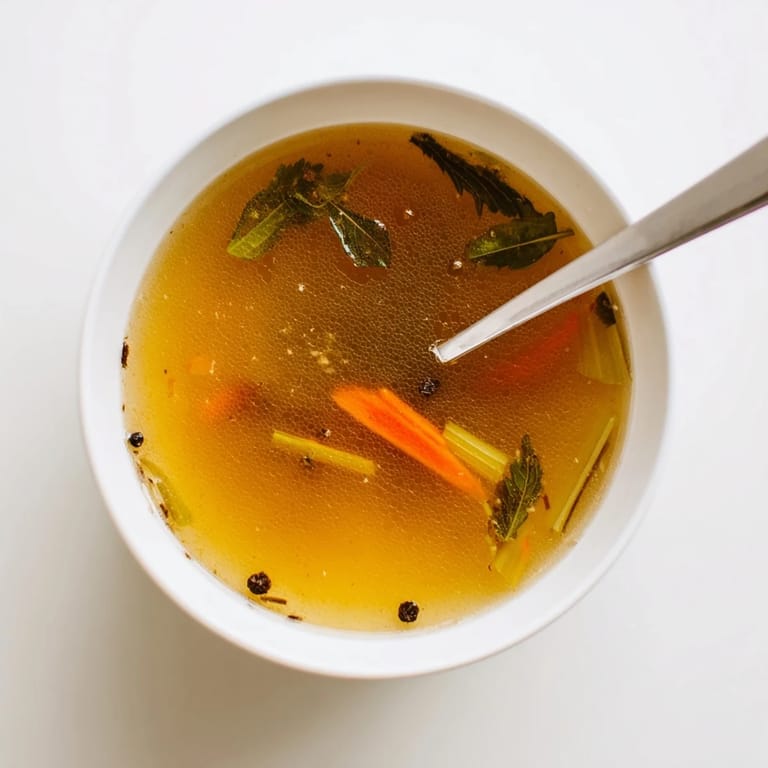
 I started keeping a gallon bag in my freezer after learning this recipe, and now I get excited when a recipe calls for trimmed vegetables. Each peel and end feels like an investment in future broth. It's changed how I cook entirely.
Building Better Flavor
Roast your vegetable scraps in the oven at 400°F for 20 minutes before simmering them. This deepens the color and adds caramelized notes that make the broth taste like it simmered for hours. The difference is remarkable.
Storage Solutions
Cool the broth completely before refrigerating, then use within 5 days. For longer storage, freeze in 2-cup portions in freezer-safe containers or ice cube trays for easy portioning. Thawed broth works perfectly in any cooked dish.
Customizing Your Broth
Add a piece of kombu seaweed or dried shiitake mushrooms during simmering for an umami boost that rivals meat-based stocks. A splash of soy sauce or a Parmesan rind can also transform the flavor profile entirely.
- Save scraps from multiple cooking sessions to build more complex flavor layers
- Label your freezer bags with dates so you use older scraps first
- Never use vegetables that look slimy, moldy, or past their prime
 Pin it
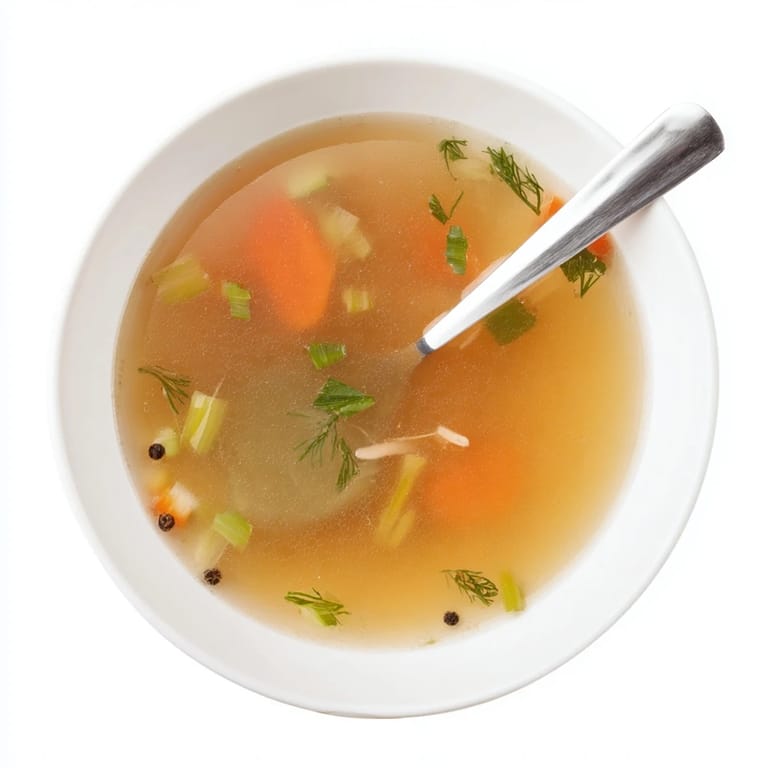
 Every time I ladle this broth into a mug or soup pot, I think about all those little vegetable ends that got another chance to shine. That's what cooking should be about.
Recipe FAQs
- → What vegetable scraps work best?
Carrot peels, onion skins, celery ends, leek tops, mushroom stems, garlic skins, and herb stems create the most flavorful foundation. Avoid cruciferous vegetables like broccoli and cabbage, which can introduce bitterness.
- → How long does this keep?
Store cooled broth in airtight containers in the refrigerator for up to five days. For longer preservation, freeze in portions for up to three months without losing quality or flavor.
- → Can I add salt?
Add 1-2 teaspoons of salt during simmering, then adjust to taste before straining. Starting light allows flexibility when using the broth as a base for other dishes.
- → What makes this zero-waste?
This method utilizes parts typically discarded—peels, ends, stems, and skins—extracting every bit of nutrition and flavor from ingredients you've already purchased for other meals.
- → How do I deepen the flavor?
Add kombu seaweed or dried shiitake mushrooms for extra umami. Roast scraps before simmering for caramelized depth, or include a Parmesan rind for richness.
- → Should I simmer covered or uncovered?
Simmer uncovered to allow evaporation, which concentrates flavors. Skim any foam that rises to the surface for a clearer, cleaner finished broth.