 Pin it
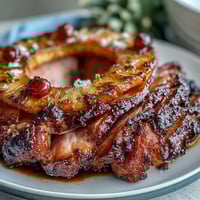
 My first kibbeh moment came in my tiny apartment kitchen on a rainy Thursday, watching my neighbor's mother demonstrate the technique with her hands moving in practiced, confident motions. She never measured anything—just felt the dough, tasted the filling, adjusted the spices by instinct. That day I learned that kibbeh isn't really about following rules; it's about understanding the balance between the tender meat, the nutty bulgur, and those pine nuts that suddenly turn golden and nutty in the pan. Now whenever I make these crispy, torpedo-shaped croquettes, I'm transported back to that kitchen filled with the smell of warming spices and the sound of sizzling oil.
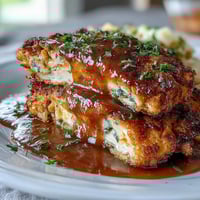
I'll never forget serving these to my partner's family for the first time, nervous about whether I'd gotten the proportions right. The moment everyone reached for seconds and thirds, barely pausing to dip them in yogurt, I knew I'd nailed something important. His grandmother nodded approvingly—the highest compliment—and asked for my technique, which somehow made the whole effort feel validated.
Ingredients
- Fine bulgur wheat: This is your foundation; soaking it properly (not too long, or it becomes mushy) gives the dough its characteristic tender texture that binds everything together.
- Lean ground beef or lamb: Lamb is traditional and more flavorful, but beef works beautifully too—the key is keeping it lean so the dough stays light and not greasy.
- Onion: Finely chopped and distributed evenly ensures every bite has that subtle sweetness and helps hold the dough together like an invisible binder.
- Allspice and cinnamon: These warm spices are what make kibbeh distinctly Lebanese; don't skip them or reduce the amounts, as they're essential to the flavor profile.
- Pine nuts: Toast them gently so they release their oils and turn golden—they're the luxury ingredient that makes the filling memorable.
- Vegetable or olive oil: For frying, use vegetable oil for a higher smoke point; for baking, olive oil brushed on creates an equally crispy exterior with less mess.
Tired of Takeout? 🥡
Get 10 meals you can make faster than delivery arrives. Seriously.
One email. No spam. Unsubscribe anytime.
Instructions
- Prepare and soften the bulgur:
- Rinse the bulgur under cold water until the water runs clear, then let it sit undisturbed for 10 minutes—this gentle hydration is crucial because oversoaking turns it into mush. You'll feel when it's ready: tender but still with a slight firmness.
- Build the main dough:
- Combine the bulgur with the ground meat, onion, and spices in a large bowl and knead it like bread dough, adding cold water a tablespoon at a time until the mixture feels smooth and cohesive enough to hold together. Refrigerating it now makes the dough easier to shape and gives the flavors time to mingle.
- Create the filling:
- Heat olive oil and cook the onions slowly until they're soft and translucent, then add the meat and break it apart as it browns—this takes patience, but rushing creates uneven cooking. Once the meat is no longer pink, add the pine nuts and warm spices, cooking just until the nuts turn golden and fragrant.
- Shape and fill:
- Wet your hands (this prevents sticking and is a game-changer), take a piece of dough about the size of a golf ball, and gently flatten it in your palm into a thin oval shell. Add a teaspoon or two of filling to the center, then carefully seal the edges by pinching and shaping into a torpedo or football form—it gets easier with practice.
- Cook by frying:
- Heat vegetable oil to 180°C/350°F and fry kibbeh in batches for 4 to 5 minutes, resisting the urge to crowd the pan, which drops the oil temperature and prevents proper crisping. You'll know they're done when they're deep golden brown and sound hollow when tapped.
- Cook by baking:
- Arrange kibbeh on a parchment-lined baking sheet, brush generously with olive oil, and bake at 200°C/390°F for 25 to 30 minutes, turning halfway through to ensure even browning. This method is less messy and gives you time to prepare a salad without standing over hot oil.
 Pin it
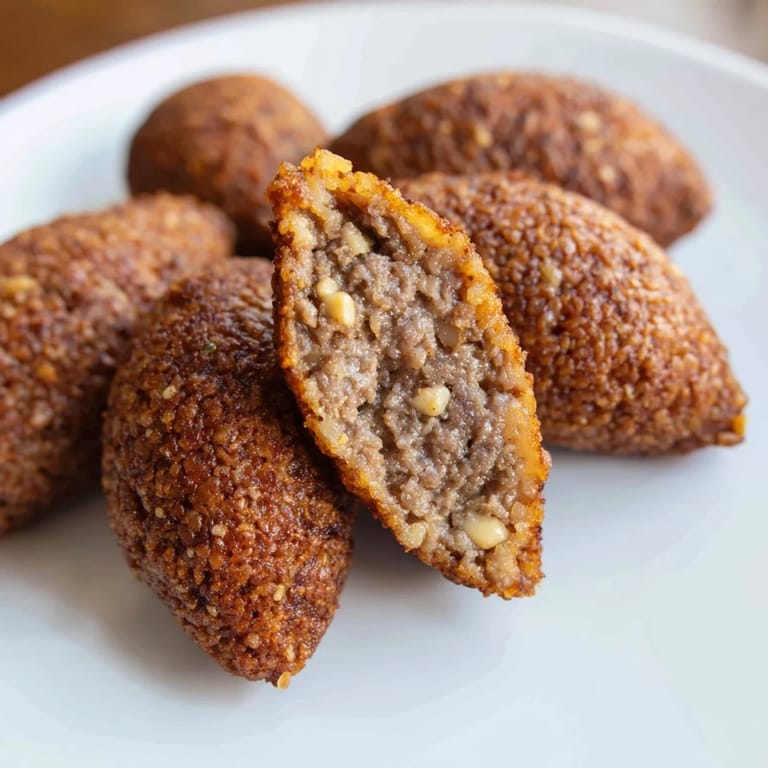
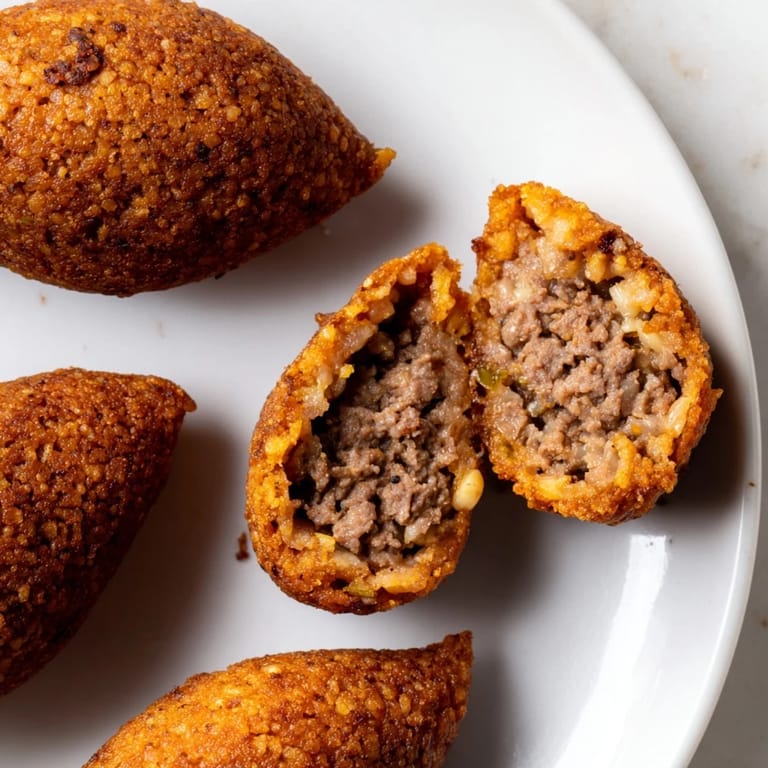
 There's something magical about the moment when you bite through the crispy exterior into the warm, spiced meat inside—it's the contrast that makes kibbeh special, and it's what turned these simple ingredients into comfort food for me. When people ask what makes them taste restaurant-quality, I always say it's the respect for each element: the properly hydrated bulgur, the perfectly toasted pine nuts, and the patience to get the oil temperature just right.
Serving and Pairing
Kibbeh shines when served warm with cool, creamy counterparts—a dollop of plain yogurt or tahini sauce cuts through the richness, while fresh lettuce, tomatoes, and cucumber salad provide brightness. I've found that serving them straight from the pan (if frying) or directly from the oven creates a textural moment that cools to something perfectly chewy within minutes, so timing the table is part of the charm.
Variations Worth Trying
Once you master the classic version, you start noticing variations everywhere: some cooks add a touch of nutmeg, others incorporate fresh herbs like parsley into the dough, and I've experimented with mixing pomegranate molasses into the filling for a sweet-tart twist. A friend's family makes theirs larger, almost like a kibbie ball, and bakes them instead of frying—the method changes the texture slightly, but the essence remains the same.
Storage and Make-Ahead Tips
These kibbeh keep beautifully in the freezer for up to three months, which means you can form them on a Sunday afternoon and cook them fresh whenever you want to impress someone. The best trick I've discovered is freezing them on a baking sheet before transferring to a bag—this prevents them from sticking together and means you can fry or bake them straight from frozen, adding just a minute or two to the cooking time.
- Shape and freeze unbaked kibbeh on a tray, then transfer to freezer bags for long-term storage without sticking.
- Reheating leftover cooked kibbeh in a 180°C oven for 8 to 10 minutes restores most of the crispiness better than microwaving.
- Prepare the filling a day ahead—it actually tastes better when the flavors have had time to settle.
 Pin it
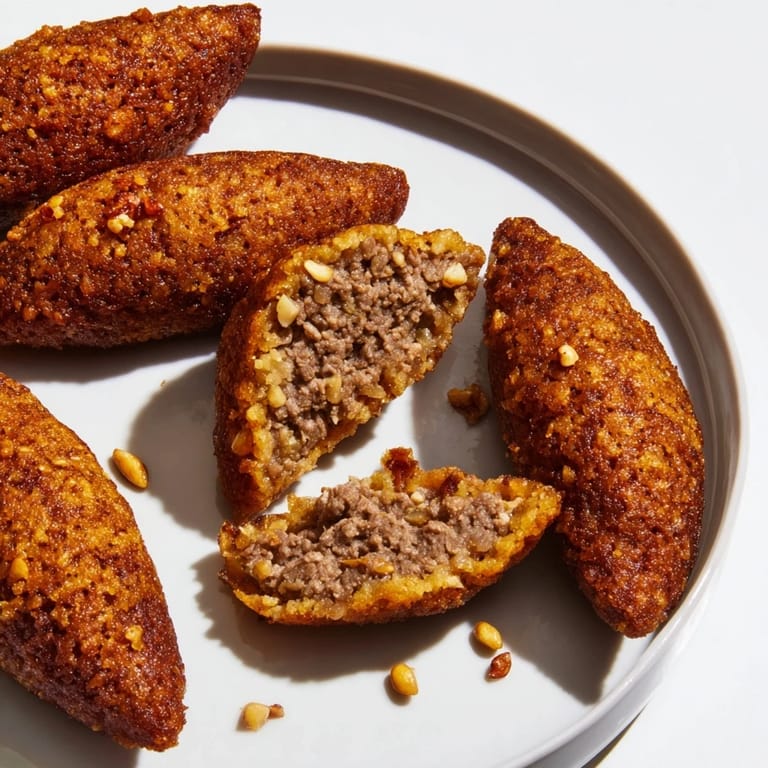
 Making kibbeh is one of those recipes that rewards patience and repetition, revealing small refinements each time you make it. Once you've tasted the moment when everything comes together—the crispy shell, the warm filling, the cool yogurt—you'll understand why this dish has been a centerpiece of Lebanese tables for generations.
Recipe FAQs
- → What makes kibbeh dough unique?
It combines fine bulgur wheat with lean ground meat and warm spices like allspice and cinnamon, creating a flavorful, firm yet pliable dough.
- → How do I achieve the perfect kibbeh shape?
Moisten your hands, flatten a dough ball into a thin oval shell, add filling in the center, then carefully pinch edges to seal and form a torpedo shape.
- → What are the frying and baking differences?
Frying yields a deep golden, crisp exterior quickly, while baking offers a lighter crispness and allows for brushing with olive oil for added flavor.
- → Can I prepare kibbeh ahead of time?
Yes, you can freeze shaped kibbeh before cooking for up to three months, then fry or bake directly from frozen.
- → What side dishes complement kibbeh?
Fresh salads, yogurt, or tahini sauce balance the rich, spiced flavors and add refreshing contrast to the dish.
- → Are there vegetarian alternatives to traditional filling?
Cooked lentils and sautéed mushrooms can replace meat, providing a savory filling with similar texture and flavor depth.